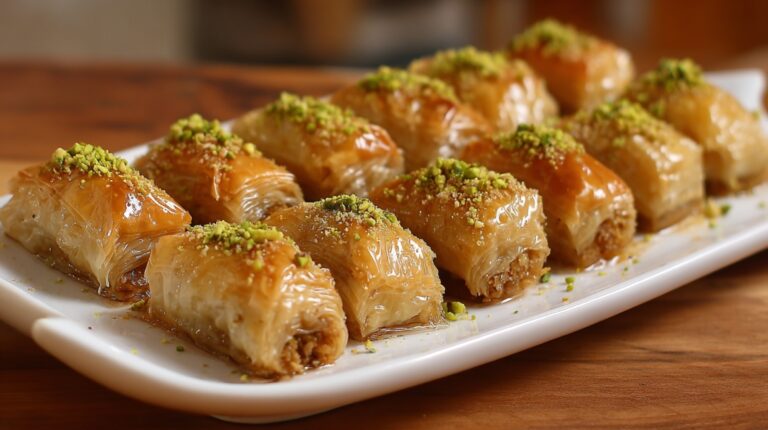
Baklava fingers are a crispy, nut-filled variation of the classic Middle Eastern dessert, perfect for holidays, parties, or a special weekend project.
With layers of buttery phyllo dough and a fragrant syrup, they offer the perfect balance of crunch and sweetness and can be easily made at home.
This guide makes the process simple and rewarding. You can create about 20 perfect rolls in very little time.
For more detailed layering tips, check out this mixed baklava tray recipe.
What Makes Baklava Fingers Special?
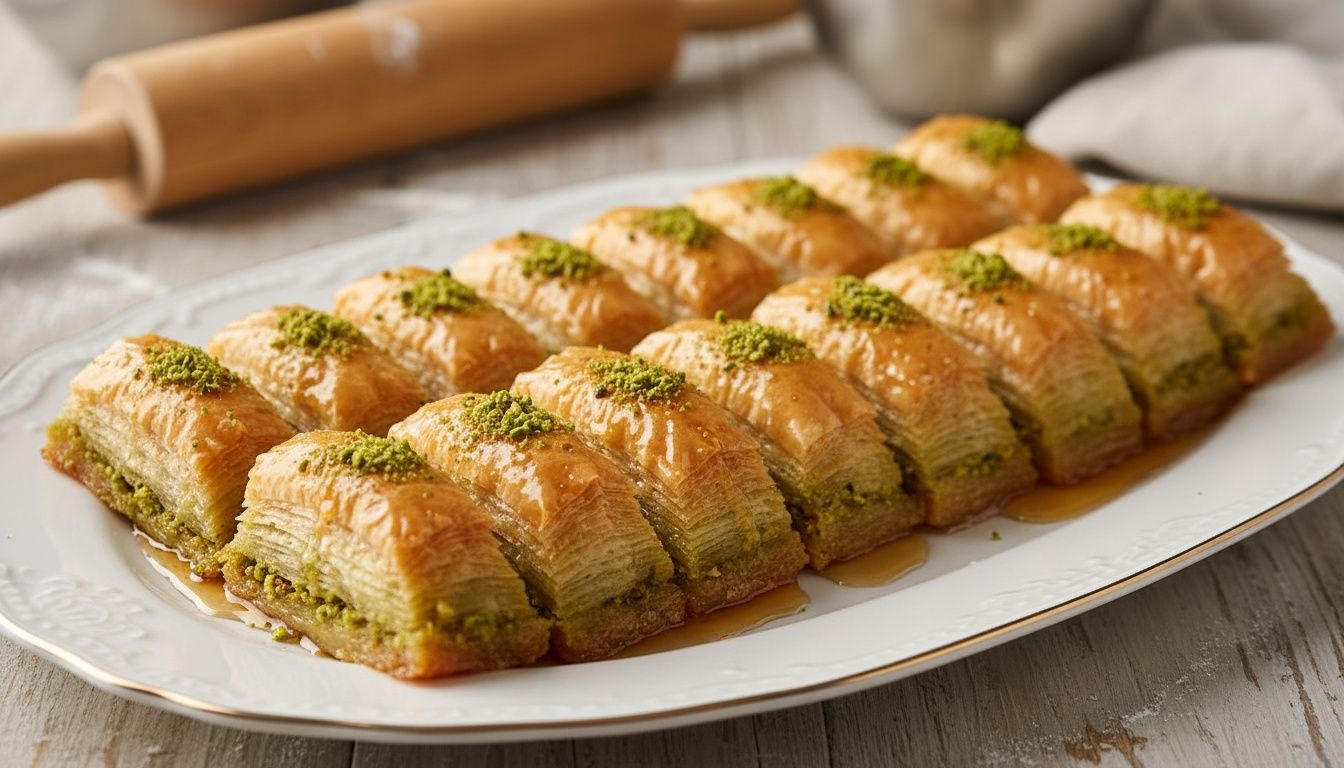
Unlike traditional baklava, this rolled version limits how much syrup the pastry absorbs, helping it stay crisp longer. The result is a better balance between crunchy phyllo layers and a rich nut filling, with a cleaner texture in every bite.
- A precise amount of orange blossom water adds a sophisticated floral note without making the dessert overly sticky.
- Careful buttering of each phyllo sheet is key to achieving that iconic, flaky, golden finish.
Ingredients, Equipment, and Preparation Tips
To achieve the best texture and flavor, it’s important to use fresh ingredients and have a few basic tools ready before you begin.
- Phyllo dough – creates thin, crispy layers
- Butter or ghee – adds richness and helps achieve a golden finish
- Walnuts – provide a classic nutty filling
- Sugar and cinnamon – enhance flavor
- Simple syrup – adds sweetness and moisture
- Orange blossom or rose water – adds aroma (optional)
Equipment:
- Baking tray
- Pastry brush
- Sharp knife
- Food processor (for nuts)
For a pistachio variation, try this pistachio baklava fingers recipe.
Step-By-Step Guide to Making Baklava Fingers
Creating these elegant pastries is a straightforward process of layering, filling, and rolling. Follow each stage carefully for a beautiful, professional result.
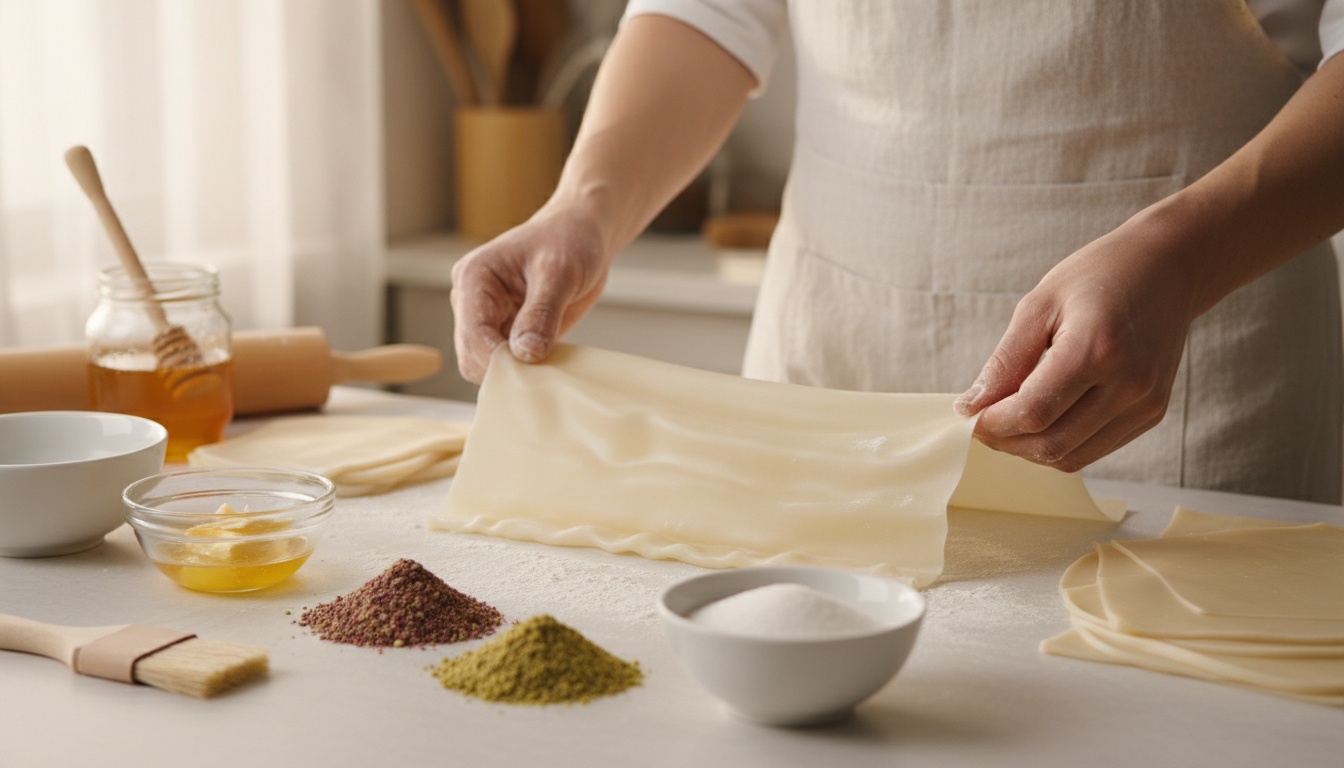
1. Prepare the Phyllo Dough
Allow the phyllo dough to thaw completely at room temperature before use. Once opened, cover it with a slightly damp kitchen towel to prevent it from drying out and cracking while you work.
2. Layer the Sheets
Place one sheet of phyllo on a clean work surface and lightly brush it with melted butter or ghee. Repeat this process, layering 3–4 sheets on top of each other, brushing each layer to ensure a crisp, flaky texture.
3. Add the Filling
Sprinkle or spread a thin, even line of finely chopped walnut mixture along one edge of the layered dough. Avoid overfilling to keep the rolls neat and easy to handle.
4. Roll Tightly
Carefully roll the dough over the filling into a tight log. Keep the roll firm but not overly compressed. Use a sharp knife to cut it into evenly sized pieces if needed.
5. Arrange and Bake
Place the rolls seam-side down in a greased baking tray. Brush the tops generously with more melted butter to help them brown evenly. Bake in a preheated oven at 350°F (180°C) for about 25–30 minutes, or until the pastries are golden brown and crisp.
6. Add the Syrup
As soon as the pastries come out of the oven, pour the cooled syrup evenly over the hot rolls. This allows the syrup to absorb properly while keeping the outer layers crisp.
Pro Tips for Perfect Baklava Fingers

The difference between a soggy disappointment and a crisp triumph comes down to a few key techniques. Your focus should be on two main areas: how you apply the syrup and where you store the finished pastries.
- Always pour cool syrup over hot pastries to keep them crisp
- Use enough butter to coat each phyllo layer evenly
- Do not over-process the nuts — keep a slightly coarse texture
- Roll tightly to prevent filling from spilling
- Keep phyllo covered while working to avoid drying
- Store at room temperature to maintain crunch
Maintaining Flakiness and Avoiding Sogginess
The most important rule is temperature contrast. Always pour cool, room-temperature simple syrup over the hot, golden brown pastries straight from the oven.
Using warm syrup will steam the delicate layers, making them soft instead of flaky.
For a pristine finish, skim any foam from your syrup as it cooks. This gives a clear, glossy look once absorbed.
Storage Tips
Store baklava fingers in an airtight container at room temperature for up to one week. Avoid refrigeration, as it can soften the phyllo layers. Reheat briefly in the oven if needed to restore crispness.
View this post on Instagram
Conclusion
Focus on the details, even layering, proper baking, and pouring cooled syrup over hot pastries, and you’ll get perfectly crisp bites every time.
Serve them fresh for the best texture, whether alongside coffee, tea, or at a special gathering. Once you try them, these homemade treats are sure to become a go-to favorite.